Nobody enjoys cleaning the oven. It sits behind a closed door, it fills with grease and spills over months, and by the time you notice it smokes every time you preheat. The good news is that most ovens come clean with ordinary pantry items and a little time, and you do not need a harsh chemical if you start before the buildup turns black.
Here is the method that works for most ovens, along with the points where you should stop and read your manual first.
What this post covers:
- Before you start
- The baking soda paste method
- Racks, door glass, and the bottom
- Self-cleaning cycle: should you use it?
- Commercial oven cleaners and safety
- How often to clean it
Before You Start
Look at your oven's manual or the maker's website before you pick a method. Some ovens have special coatings that harsh scrubbing can damage, and some have a catalytic liner that should never be sprayed with oven cleaner.
- Make sure the oven is off and fully cool.
- Take out the racks, the oven thermometer, and any pans or stones.
- Open a window and turn on the vent hood, especially in a closed-up Florida kitchen.
- Lay old towels on the floor in front of the oven to catch drips.
Gather a bowl, baking soda, water, white vinegar in a spray bottle, a plastic or silicone scraper, a damp cloth, and rubber gloves.
The Baking Soda Paste Method
This is the gentlest approach, and it works well on light to moderate buildup. It takes time, but very little effort.
- Mix about half a cup of baking soda with a few tablespoons of water until it forms a thick paste, like spreadable frosting.
- Wearing gloves, spread the paste over the inside surfaces of the oven, avoiding the heating elements and any gas ports or vents.
- Let it sit overnight, or for at least 12 hours. The paste turns brownish as it absorbs grease.
- Wipe out as much of the paste as you can with a damp cloth. Use the plastic scraper on stubborn spots.
- Spray the remaining white residue with vinegar. It will foam, which helps loosen it.
- Wipe again with a clean damp cloth until the surface is clear, then dry it with a towel.
Avoid metal scrapers and steel wool on the inside of the oven. They can scratch the enamel and make future buildup stick more easily.
Racks, Door Glass, and the Bottom
These parts need a little extra attention because they hold the most baked-on residue.
- Racks: lay them in a bathtub on a towel, cover with hot water and a good squirt of dish soap, and let them soak for several hours. Scrub with a nylon brush and rinse.
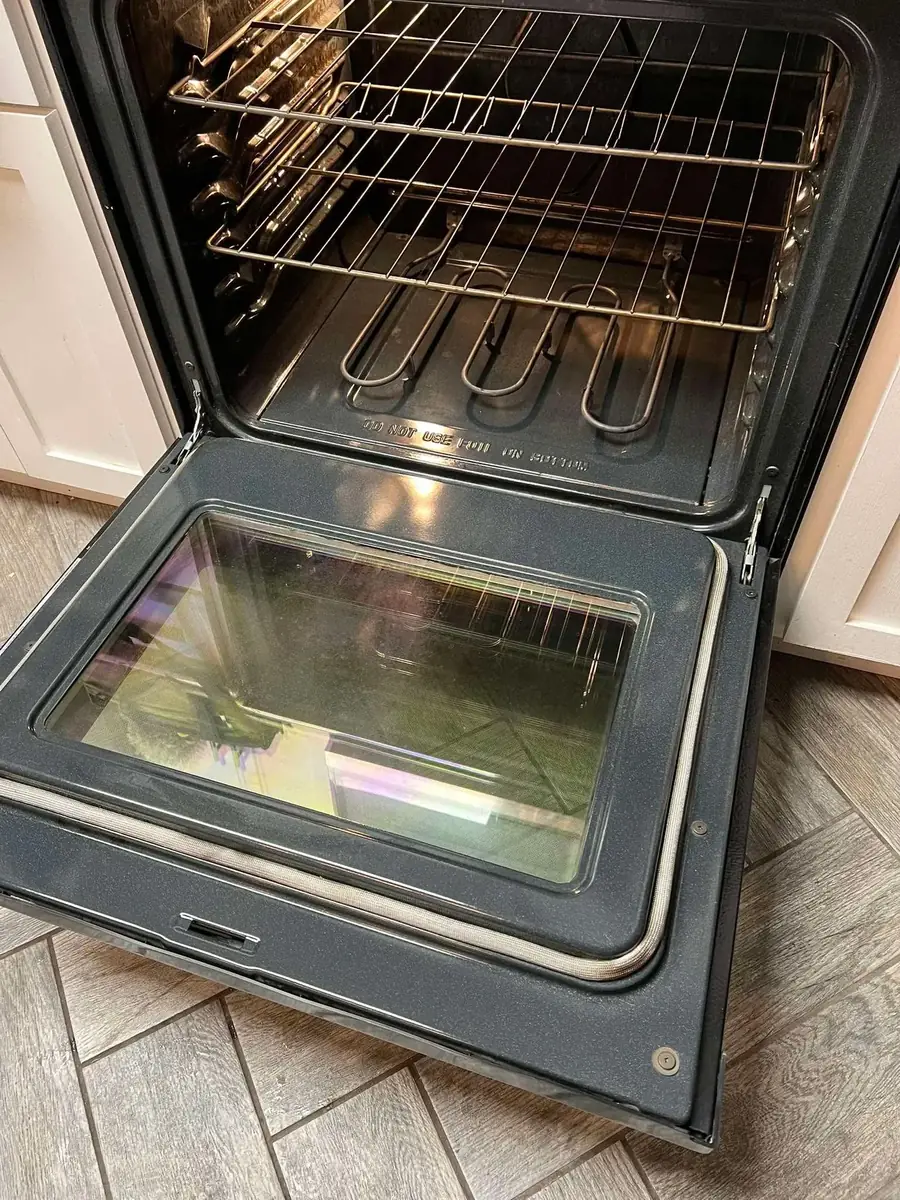
- Door glass: apply the baking soda paste to the inside of the glass, wait 15 to 20 minutes, then wipe it off. If your door allows it, check the manual before taking the door apart to reach the space between the panes.
- Oven floor: this is where spills burn in. Soften them with a damp cloth laid over the spot for 20 minutes, then scrape gently.
- The window seal and the door edge: wipe with a damp cloth and do not scrub the gasket, since it can tear.
Put the racks back only after the oven is fully dry. A wet rack can leave rust marks inside the oven.
Rather not scrape baked-on grease? Sunshine Clean & Care cleans the inside of the oven as part of a deep clean, and it can be added to other visits as an add-on. Ask for it when you book so we can plan the time.
Self-Cleaning Cycle: Should You Use It?
A self-cleaning cycle heats the oven to a very high temperature to burn off the residue, and then you wipe out the ash. It is convenient, but it comes with caveats.
- The cycle makes smoke and strong smells. Open windows and run the vent hood.
- Remove the racks first unless your manual says otherwise. The heat can dull and warp them.
- Wipe out heavy spills before you start. Large puddles of grease can flare up.
- Keep pets, and especially pet birds, out of the room. The fumes from a self-clean cycle can bother small animals, so check the maker's guidance.
- Never use oven cleaner and then run the cycle. The mix can make harsh fumes.
If your oven has been smoking for months, do a light manual cleaning first and then run the cycle. It gives better results with less smoke.
Commercial Oven Cleaners and Safety
If the baking soda method does not cut it, a commercial oven cleaner is an option. These products are strong, so read and follow every label instruction.
- Wear gloves and eye protection, and keep the room well ventilated.
- Never use one on a cool-touch, catalytic, or continuous-clean oven unless the label and the manual both say it is safe.
- Do not mix cleaning products, and never use one together with bleach.
- Rinse thoroughly. Any leftover cleaner will smoke the next time the oven heats up.
- Keep children and pets out of the kitchen while you work and while the oven dries.
Our own standard services follow a no-bleach policy, and the same caution makes sense at home: you rarely need a stronger product if you clean the oven before it gets baked on.
How Often to Clean It
A good rule is a light wipe after any big spill, and a thorough clean about every three to six months, depending on how much you cook. If you roast often, lean toward the shorter end.
- Wipe up spills once the oven cools, before they bake on.
- Line the bottom rack, not the oven floor, with a sheet of foil or a baking sheet to catch drips. Do not cover vents.
- Use a baking sheet under pies and casseroles that tend to bubble over.
- Check the oven before holidays, so you are not smelling smoke when you cook for a crowd.
If you would like the inside of the oven cleaned without doing it yourself, a deep clean includes it. Our deep clean guide lists the full kitchen checklist, and our move-out checklist includes the oven too.
Want a clean oven without the weekend project? Call us or send a note. Tell us how long since the last oven cleaning and we will explain how it fits into your visit.